


7th December 2021
How to Screen Record with OBS for the Best Quality Presentation
Share
Screen recording for your department or company’s upcoming events is simple when you use OBS and Zoom. OBS is a free and open source software for video recording and live streaming, which also records high quality footage for post-production.
To help you deliver the best quality of your talk, presentation or interview, here is our step-by-step process for downloading, configurating and screen recording with OBS.
Click an image to view in full size
Part 1: Download and install OBS
Installers for Windows and Mac can be found at https://obsproject.com/download.
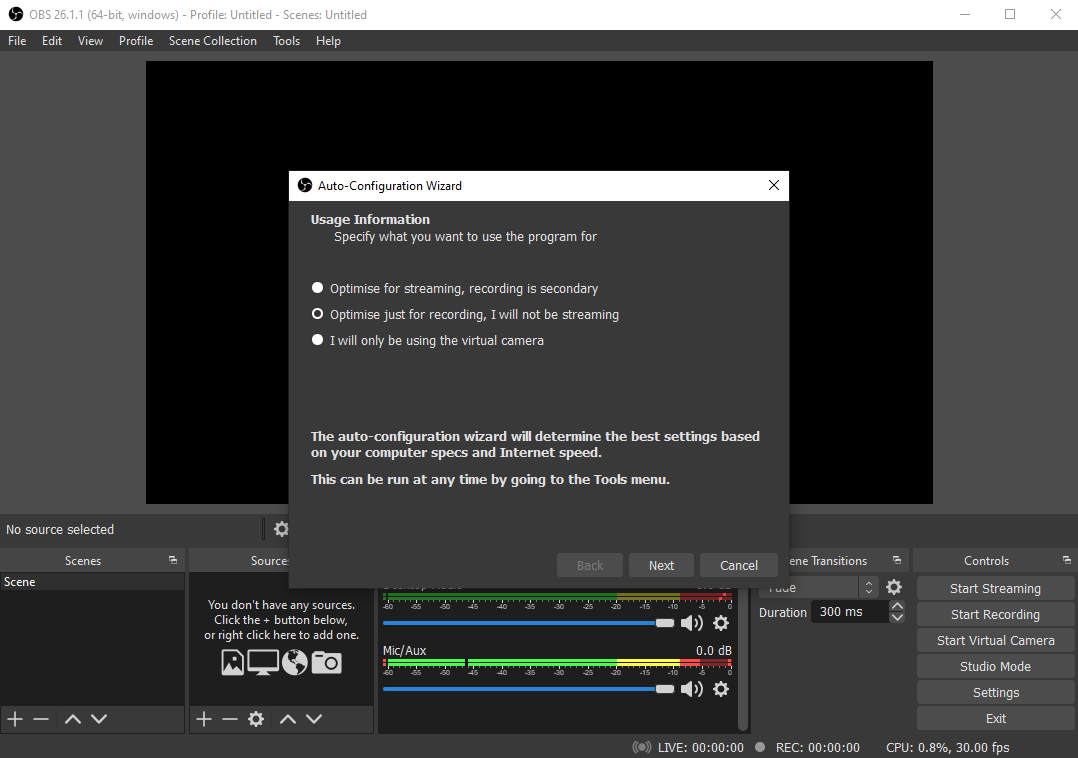
When you install OBS on your computer, it will open the Auto Configuration Wizard upon launching the OBS window.
Select ‘Optimise just for recording’ when prompted.
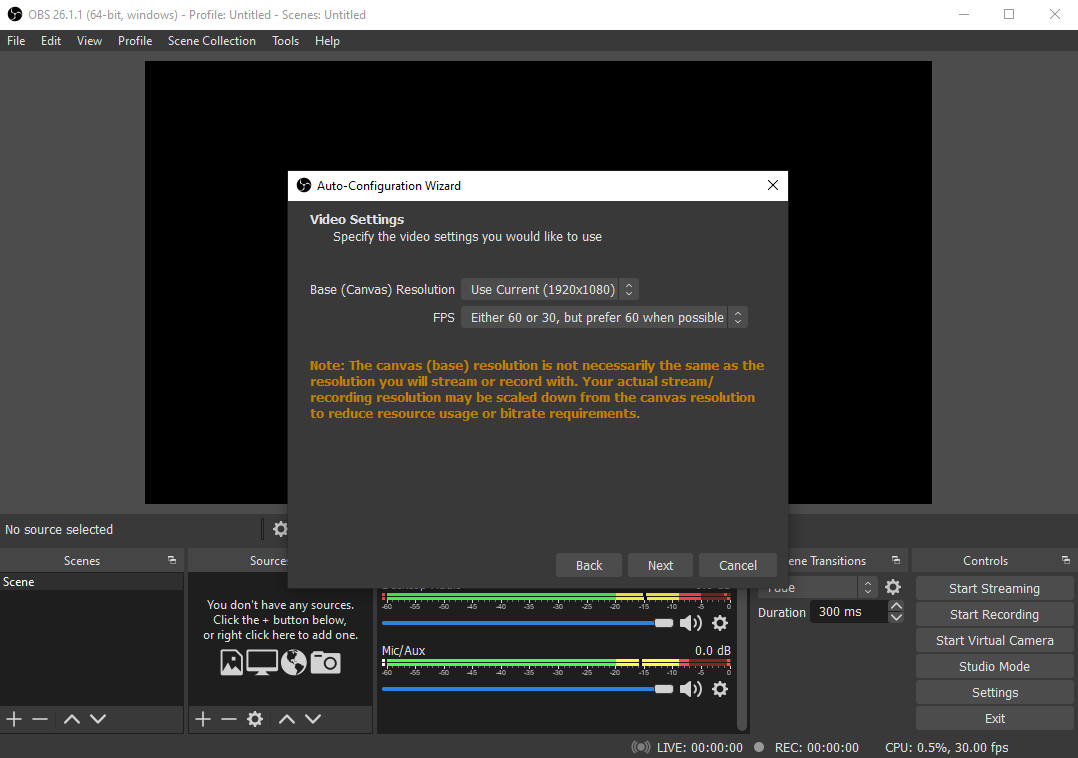
Next, select the recommend settings Base Resolution ‘Use Current’ and FPS ‘Either 60 or 30’.
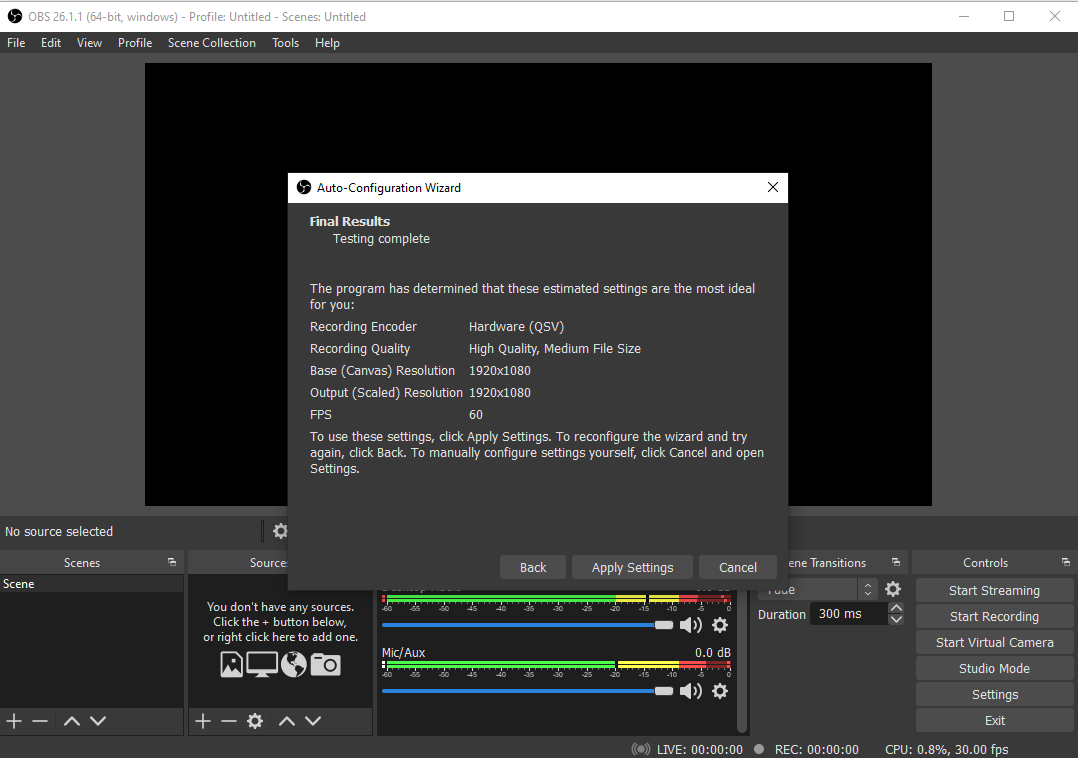
Click ‘Apply Settings’ and now you’re ready to use OBS.
Part 2: Setting up OBS to Record Camera
This is a one-time setup and OBS will remember the settings in any future records.
The first thing that we need to do is to add your camera as a source to OBS.
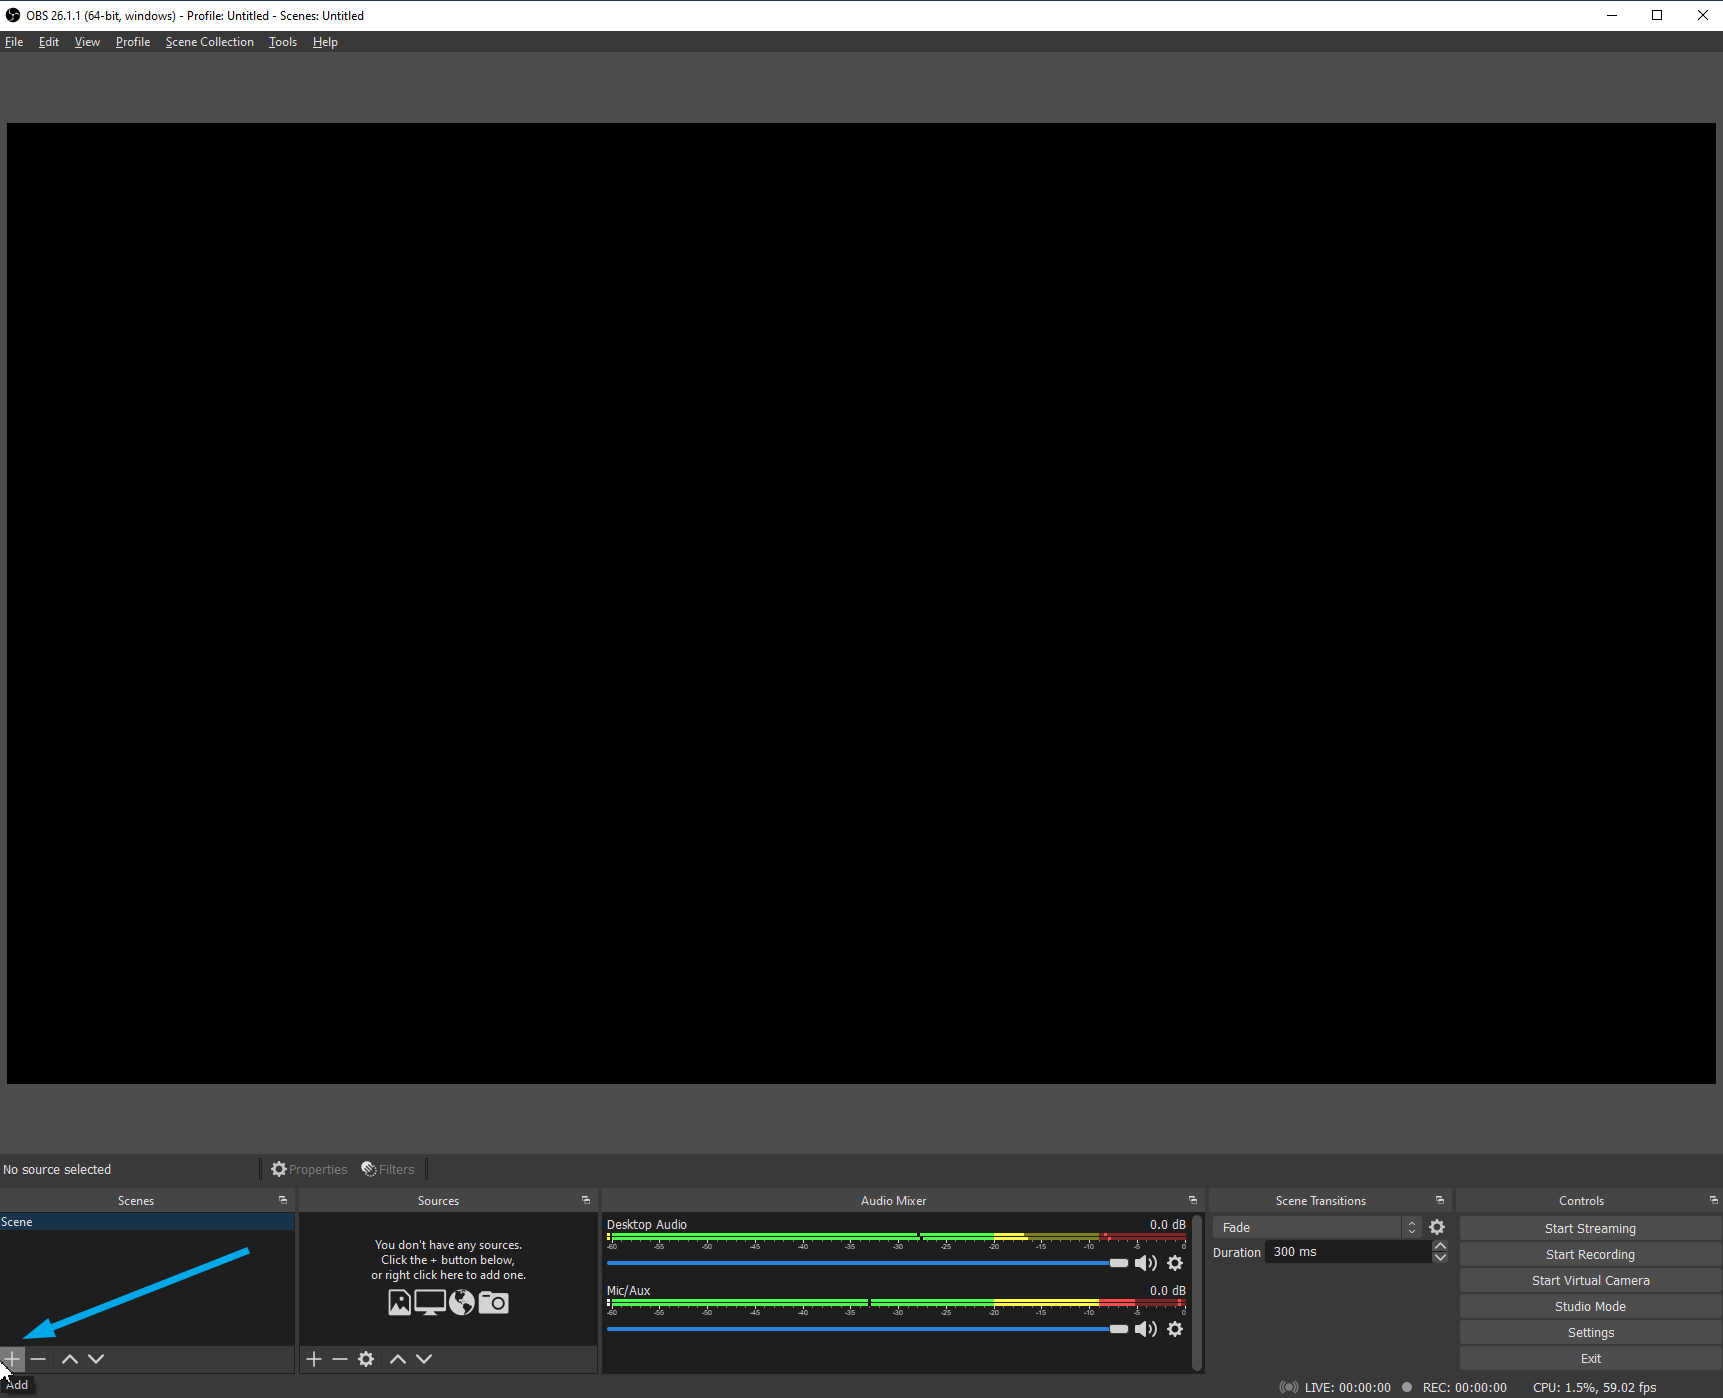
We start this by creating a scene in OBS.
To do this, we click + on the Scenes Tile on the bottom left and call it ‘Camera’.
Now we add a source.
This is located on the tile right beside Scenes. Here is where we want to add the camera that you are using with your PC.
Click the + and then select ‘Video Capture Device’.
Create a new one and click OK. (You can give this a custom camera name)

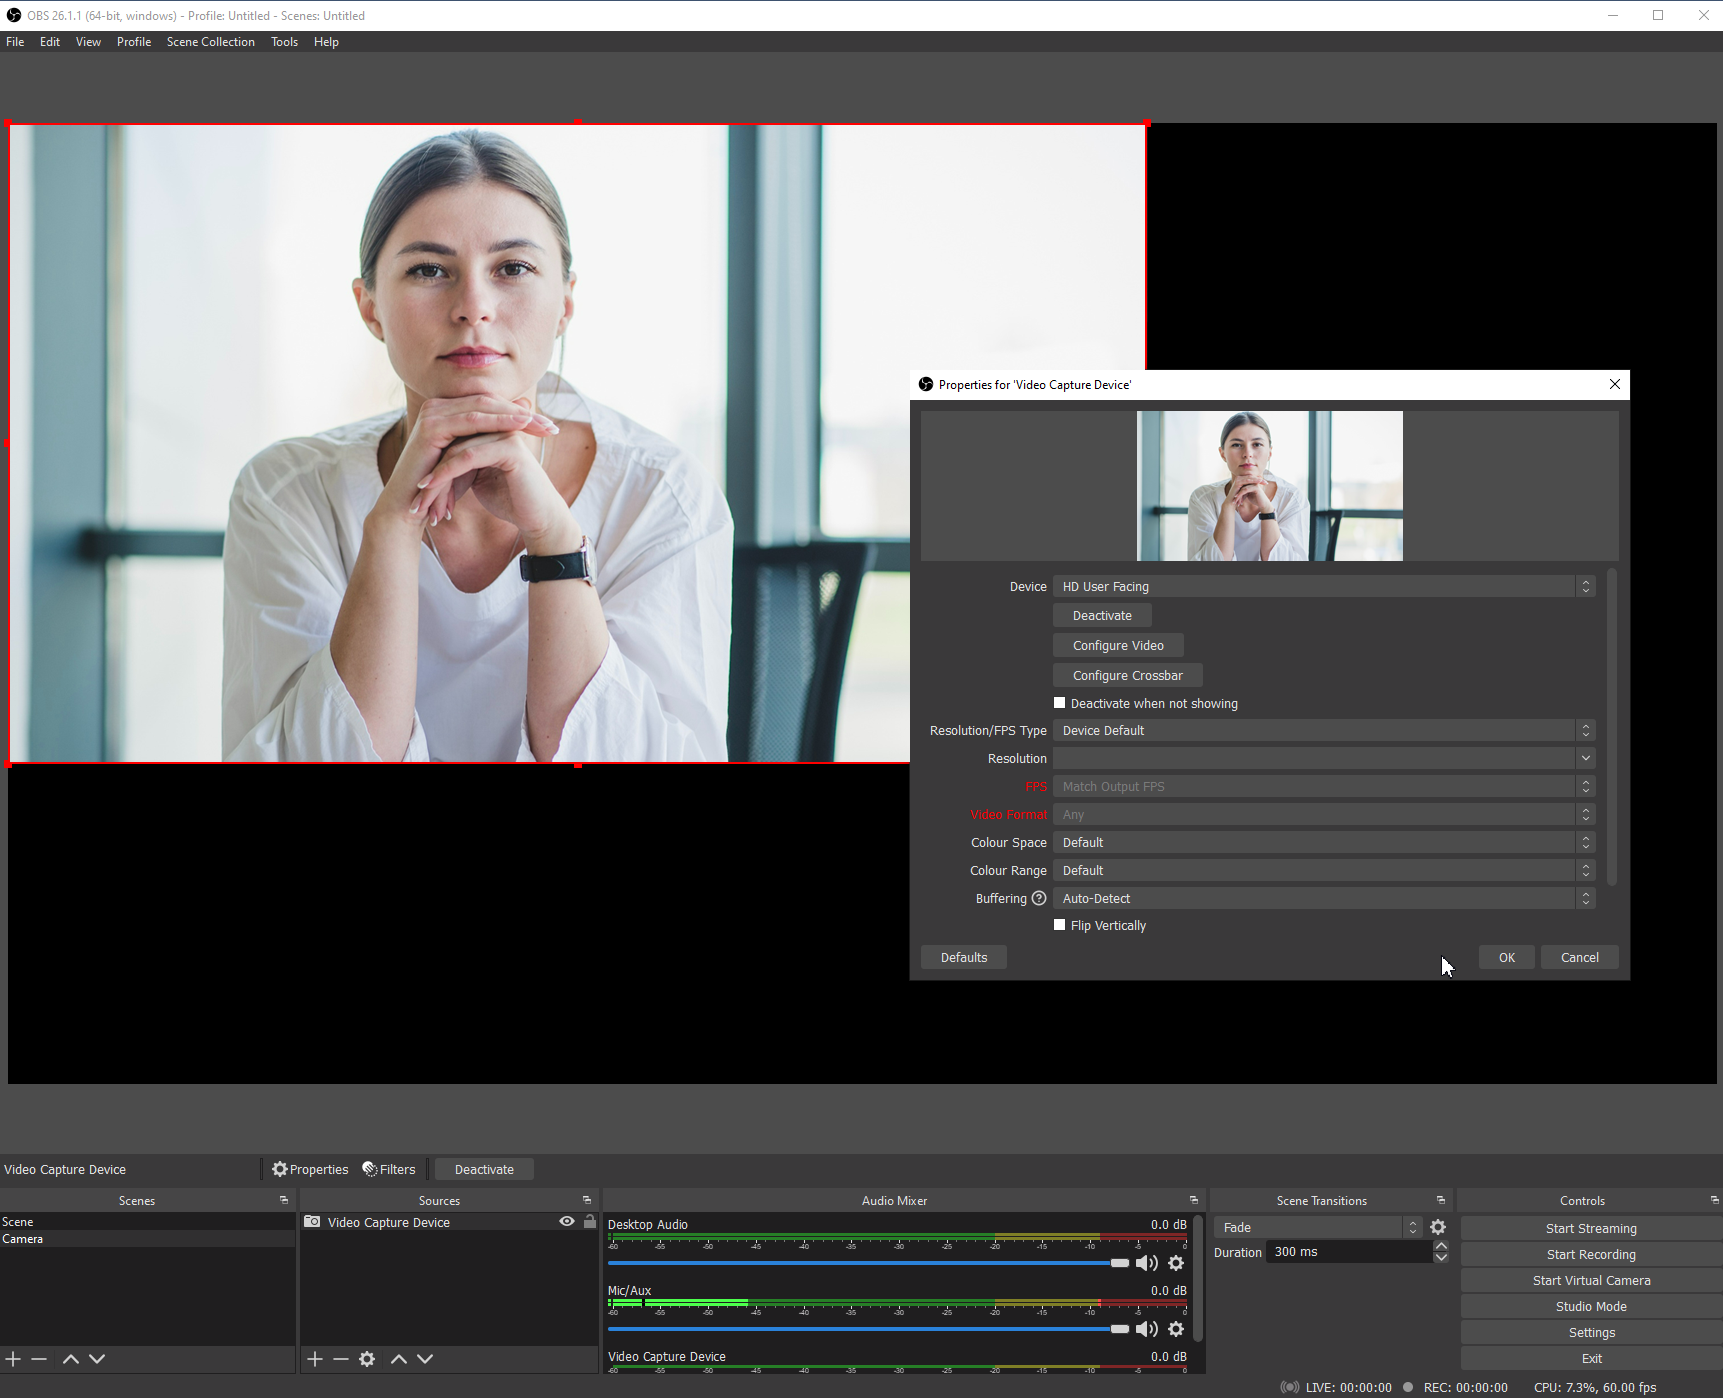
Now you’re in the Properties window, select ‘Device’. This may have a couple of options, toggle through them until you find the camera you want to use. It will show your camera feed when you select the one that you want.
Click OK to confirm the correct camera.
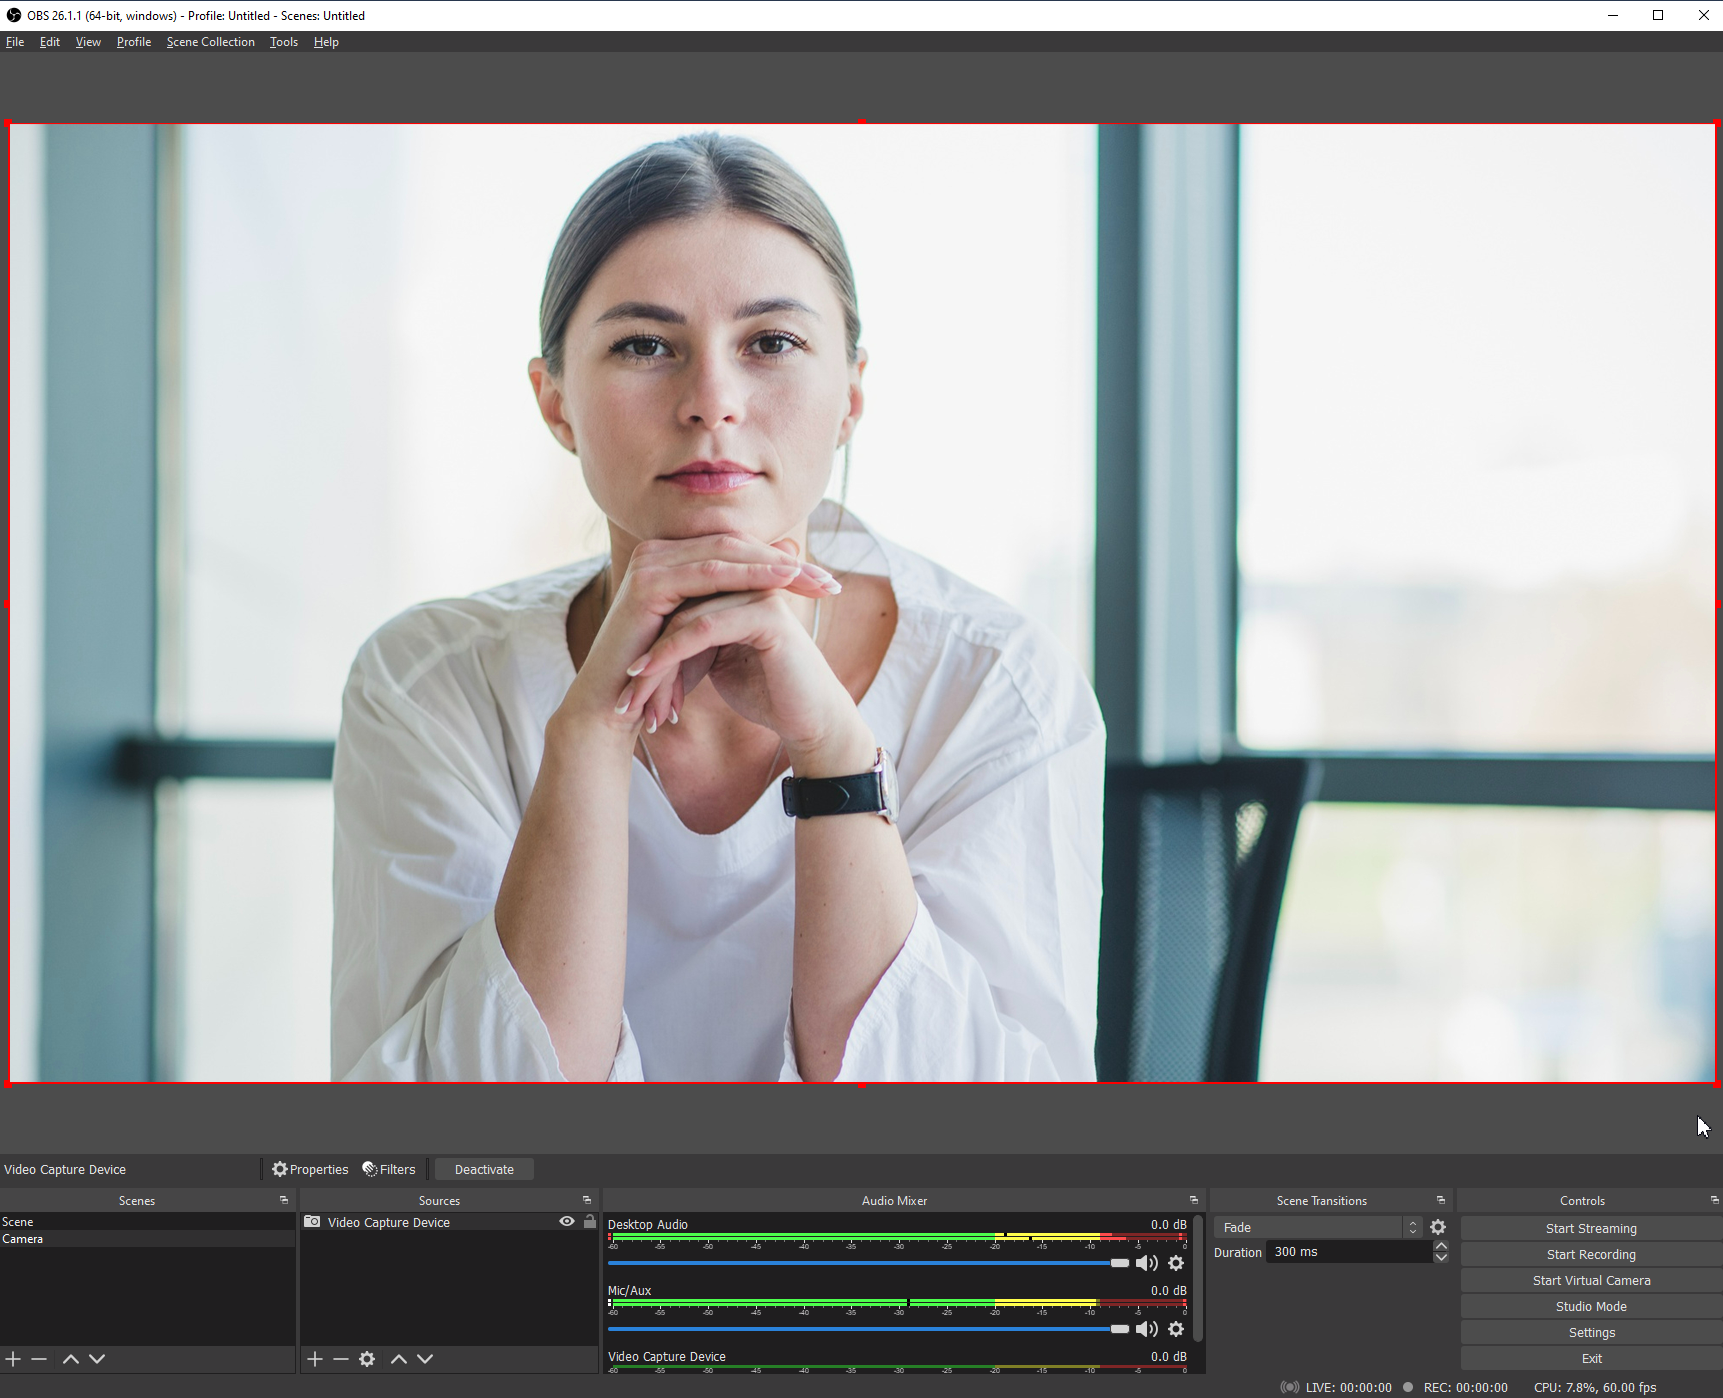
When you go back to the main view, you will see that your camera does not fit the canvas. To fill the canvas, simply grab the corner with your mouse, click and drag until it fills the black canvas.
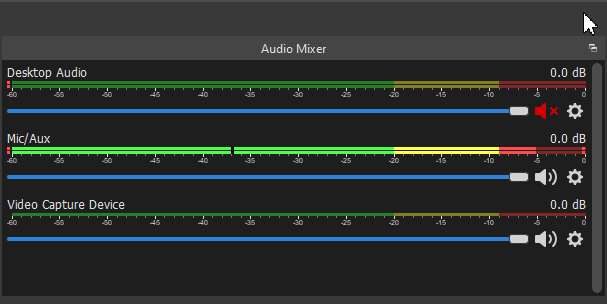
Next, let's Mute the Desktop Audio – simply click the speaker symbol in the Audio Mixer tab in the bottom middle of the screen. This will prevent your computer from recording audio that is coming from any unwanted notification sounds.
Now that we have set up your Camera Input, we will set up your record settings.
On the bottom right tile, click the Settings tab from the Controls drop-down menu.

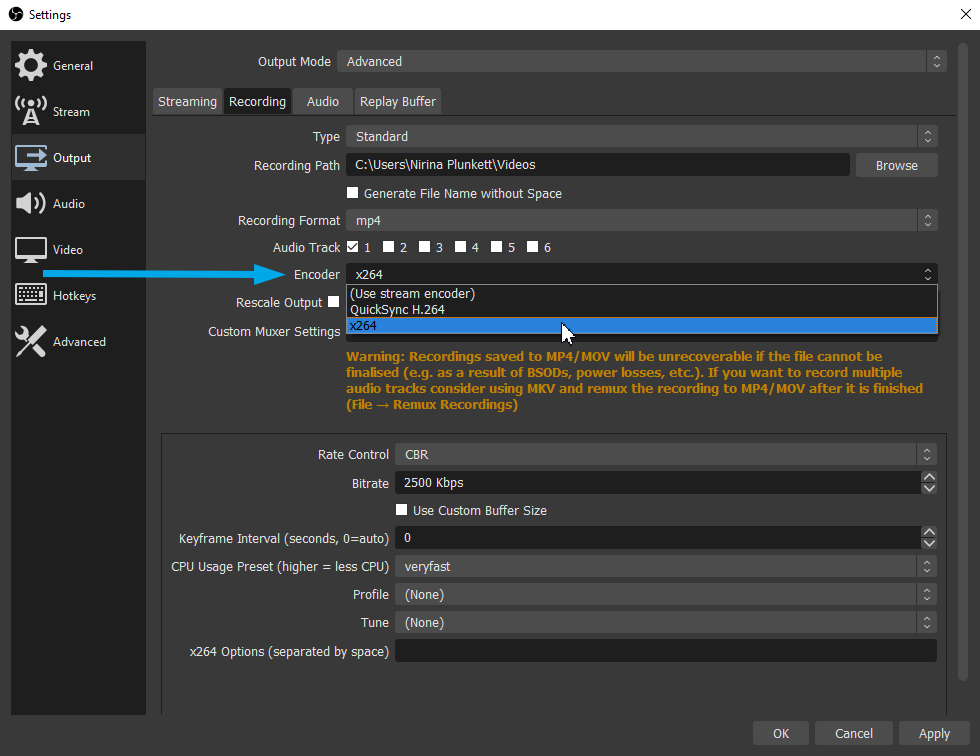
From here, select ‘Output’ then select ‘Advanced’ in the Output Mode.
Then click the Recording tab and select Recording format = mp4.
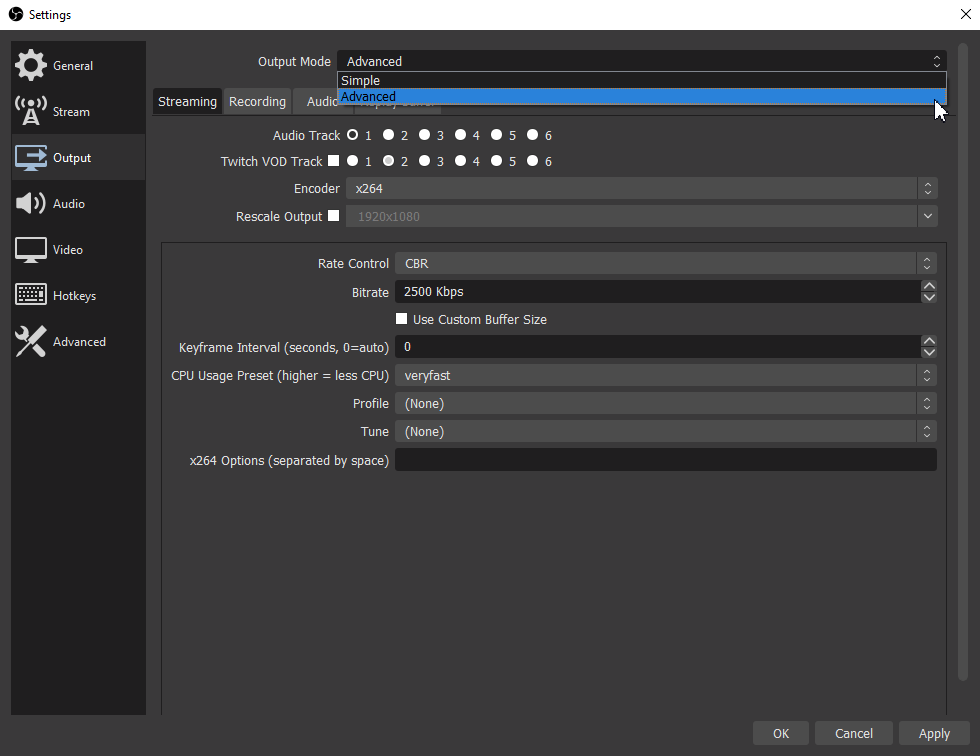

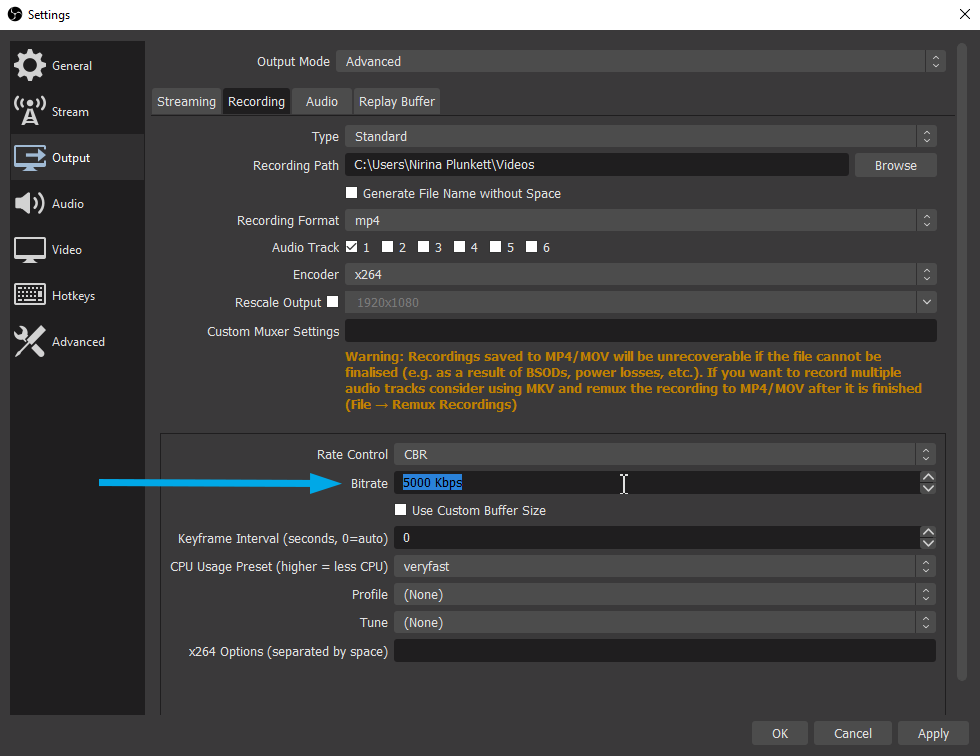
Next select Encoder = x264 and set Bitrate = 5000 Kbps.
Finally, to set staging in the Settings tab, go to Video on the left, and from the Common FPS Values drop-down menu select 25 PAL.
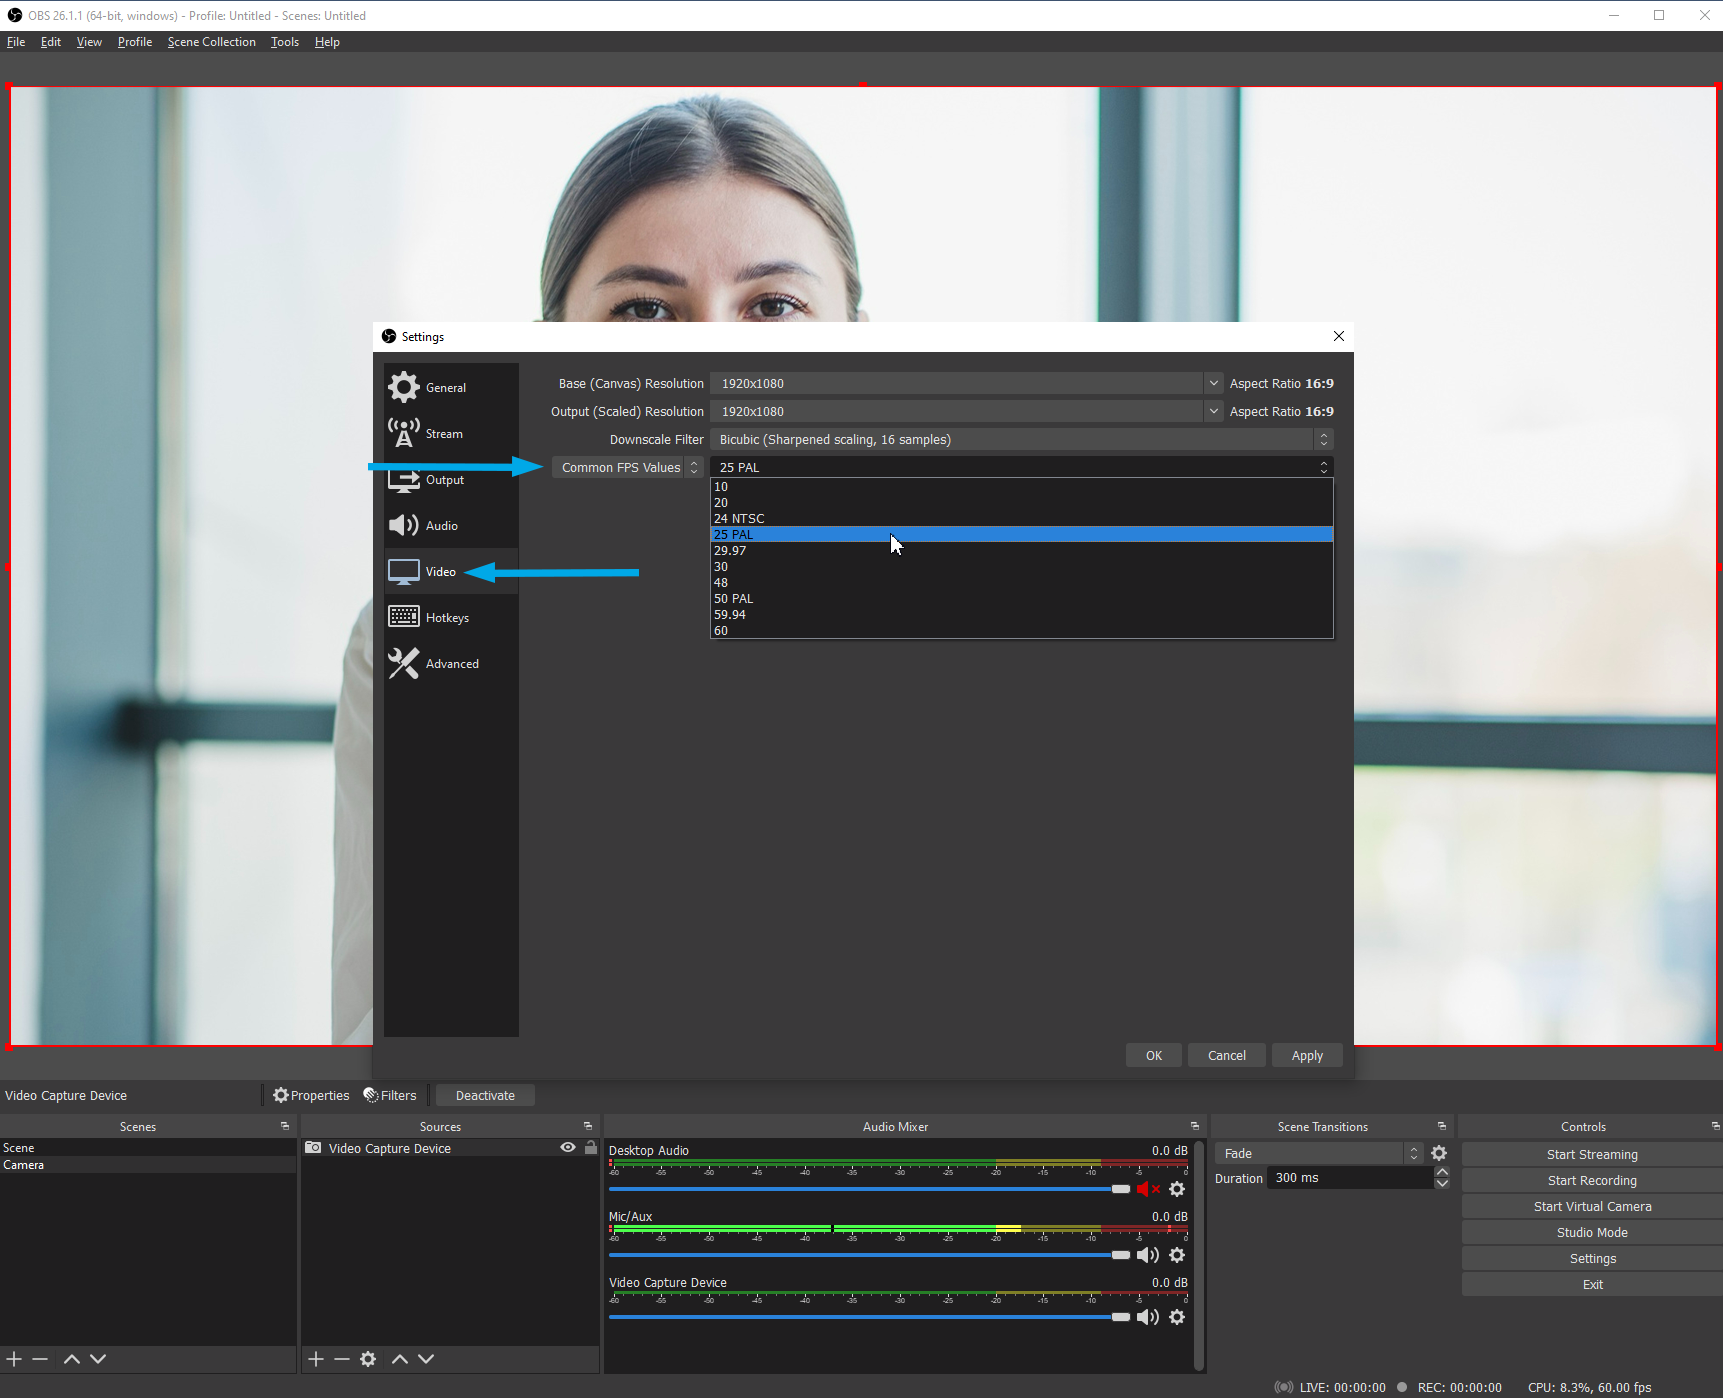
Don’t forget to click Apply then OK to save all these settings.
Part 3: Virtual Camera and Records
Now we want the ability to record what we’re presenting using videotelephony software program Zoom. The camera output we have set up in OBS can be used within Zoom – so now we must set up the virtual camera for Zoom. As we are using the camera function for OBS we need to create a new one for actually using within Zoom.
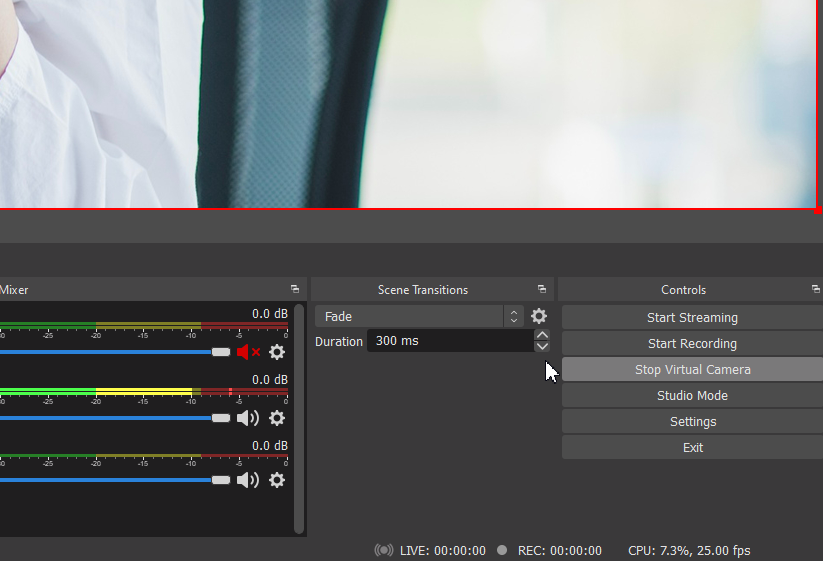
To do this, just click ‘Start Virtual Camera’ on the bottom right of OBS. (This button will switch to say 'Stop Virtual Camera' once it's been clicked.)
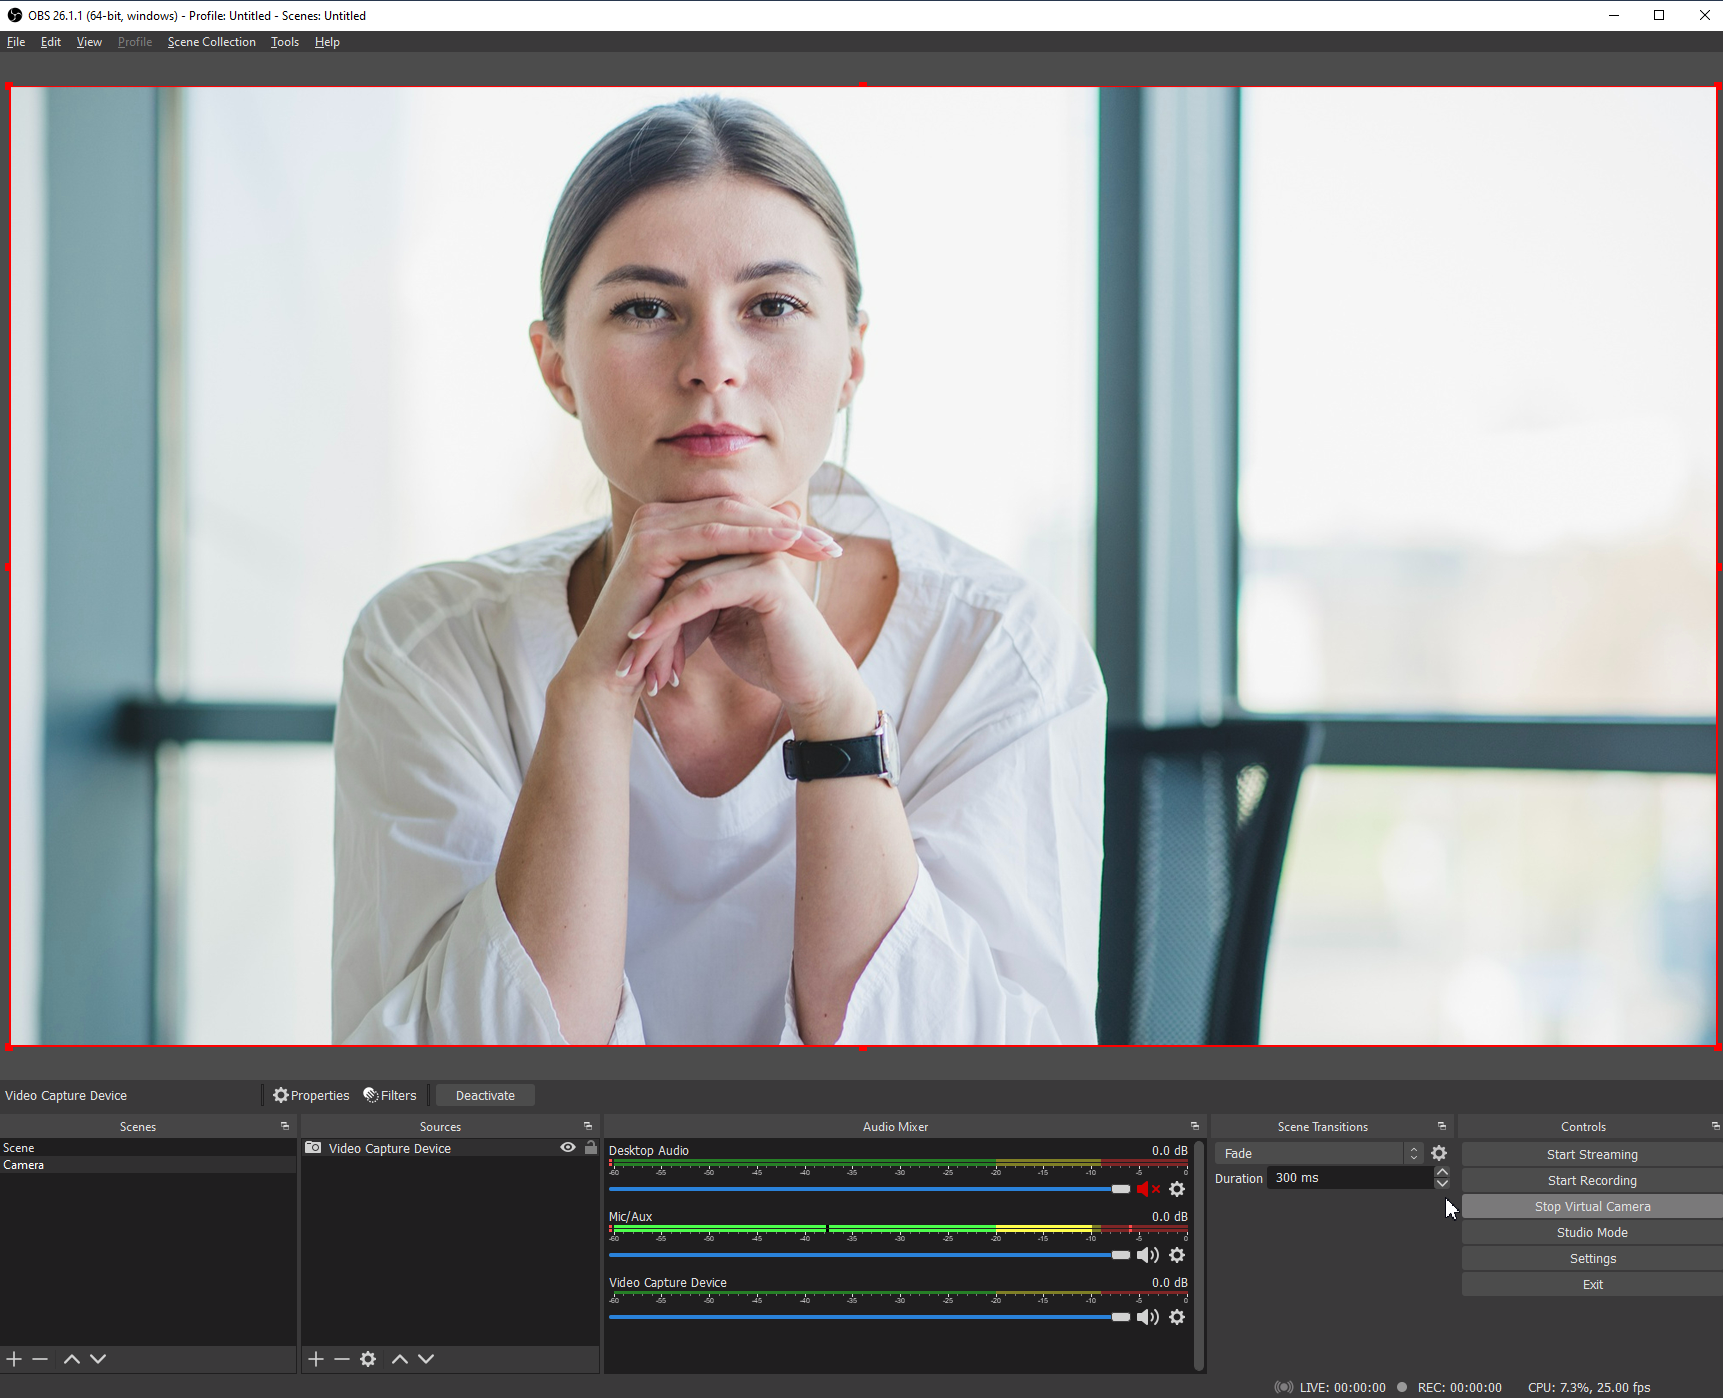
So now open Zoom, select to start a New Meeting or join a scheduled meeting, and here you can select OBS Virtual Camera as your camera input when you click the arrow beside ‘Stop Video’.
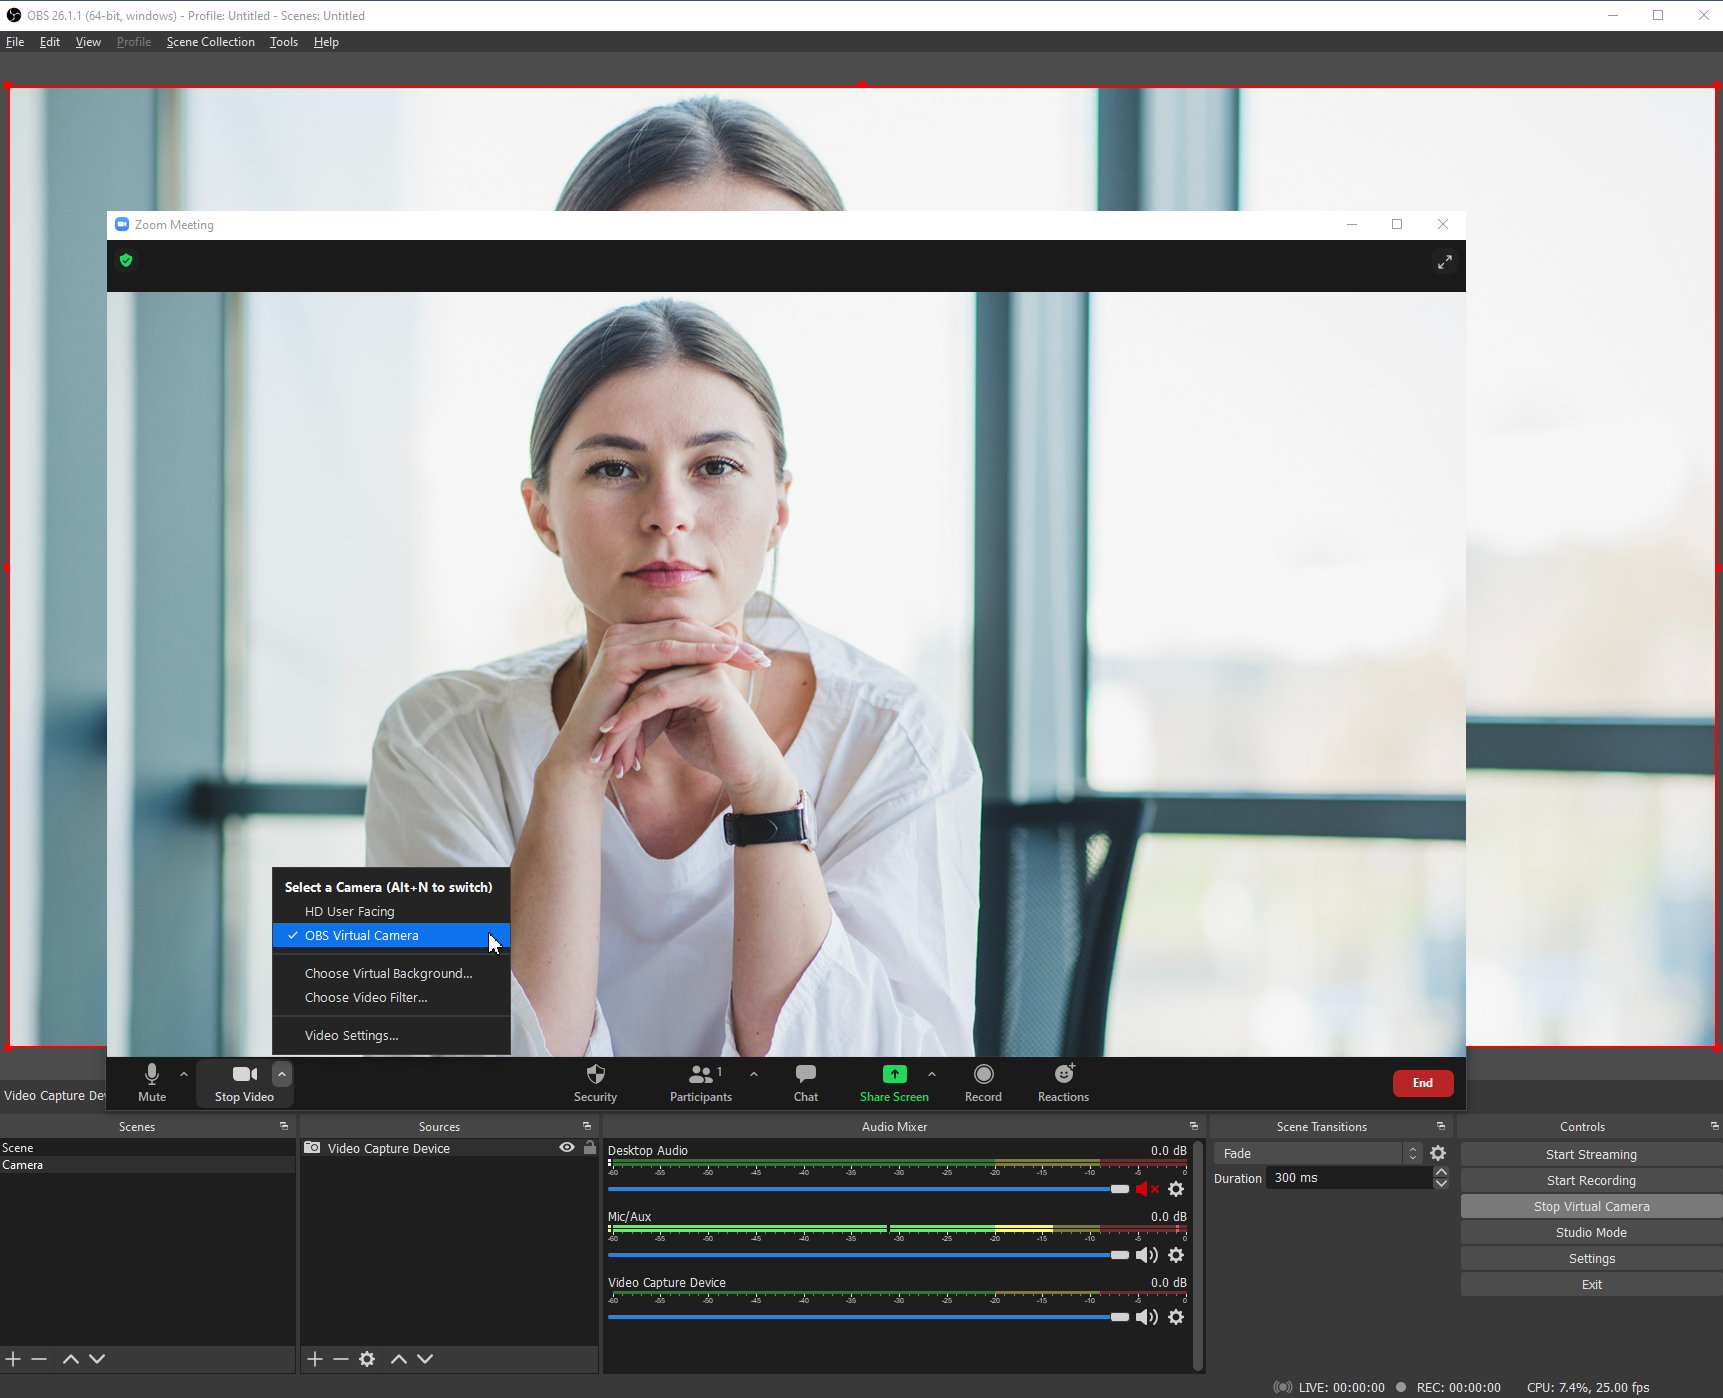
To start your screen recording, just select Record in Zoom (to the right of ‘Share Screen’).
When you’re finished the call, just press ‘Stop Recording’ in Zoom, and then ‘Stop Virtual Camera’ in OBS.
You can find your recording file on your computer in either of the following locations:
C:\Users\JaneSmith\Videos
C:\Users\JaneSmith\Documents\Zoom
All done!
Recent Posts


Client Testimonial – IRFU Charitable Trust
Impactful storytelling and event highlights, the IRFU Charitable Trust trusts Get Broadcasting as their primary Video Partner
@Nirina
|8th January 2025


It’s a Wrap for 2024
With a special message to our Clients, Suppliers, and visitors from all over the world
@Nirina
|19th December 2024
